

When it comes to replacing the exterior mirror glass on a tour coach, it's essential to have the right tools at your disposal. As a seasoned supplier of Tour Coach Exterior Mirror, I've seen firsthand the importance of being well - equipped for this task. In this blog post, I'll walk you through the necessary tools to ensure a smooth and successful replacement process.
1. Safety Gear
Safety always comes first, especially when working on a large vehicle like a tour coach.
- Safety Glasses: When removing or installing the mirror glass, small glass shards or debris might fly off. Safety glasses provide essential eye protection, preventing potential eye injuries. It's crucial to choose a pair that fits well and offers proper side protection.
- Gloves: Thick work gloves are necessary when handling the glass. They not only protect your hands from cuts but also provide a better grip on the glass, reducing the risk of dropping it. Leather or cut - resistant gloves are excellent choices.
2. Tools for Removing the Old Mirror Glass
- Flat - Head Screwdriver: This is a versatile tool that you'll use to carefully pry off any trim pieces or covers that are covering the mirror glass. Start by inserting the flat - head screwdriver into the small gap between the trim and the mirror housing. Apply gentle pressure and work your way around the trim until it pops off. Make sure to be cautious not to scratch the mirror housing or any surrounding areas.
- Torx Screwdriver Set: Many tour coach exterior mirrors use Torx screws to secure the mirror glass in place. A set of Torx screwdrivers allows you to find the correct size for your specific mirror. Incorrectly sized screwdrivers can strip the screws, making the removal process much more difficult. Simply identify the Torx screw size, insert the screwdriver, and turn counterclockwise to loosen the screws.
- Mirror Removal Tool: This specialized tool is designed to detach the mirror glass from the mirror mount without causing damage. It has a thin, flat blade that can fit between the glass and the mount. Slide the tool carefully along the edge of the glass, applying even pressure to break the adhesive bond. Some mirrors may use clips instead of adhesive, and the mirror removal tool can also be used to disengage these clips.
3. Tools for Cleaning
- Glass Cleaner: Before installing the new mirror glass, it's vital to clean the mirror housing and the surfaces thoroughly. A good quality glass cleaner will remove dirt, grease, and old adhesive residue. Spray the cleaner on a microfiber cloth and wipe the surfaces gently. Avoid spraying the cleaner directly on the mirror housing to prevent it from seeping into sensitive components.
- Microfiber Cloths: These are ideal for cleaning the mirror glass and the mirror housing. They are soft, lint - free, and do an excellent job of picking up dirt and debris without scratching the surfaces. Use separate microfiber cloths for cleaning the glass and the housing to avoid cross - contamination.
4. Tools for Installing the New Mirror Glass
- Adhesive Primer: Depending on the type of mirror and the mounting method, an adhesive primer may be required. This primer helps the new adhesive bond better to the mirror housing and the glass. Apply a thin, even layer of the primer to both the glass and the housing using a small brush or applicator, following the manufacturer's instructions.
- Mirror Adhesive: The right mirror adhesive is crucial for a secure installation. There are different types of adhesives available, such as epoxy - based and urethane - based adhesives. Epoxy adhesives offer a strong, permanent bond and are suitable for most applications. Urethane adhesives are more flexible and can better withstand vibrations. Apply the adhesive to the mirror housing in a specific pattern, usually in dots or a continuous bead, as indicated by the adhesive manufacturer.
- Clamps or Weights: After placing the new mirror glass onto the adhesive, you'll need to hold it in place while the adhesive cures. Clamps can be used to secure the glass tightly against the housing. If you don't have clamps, you can use weights to apply pressure evenly. Make sure to leave the clamps or weights in place for the recommended curing time, which can range from a few hours to overnight.
Our Product Range
As a reliable supplier, we offer a wide variety of tour coach exterior mirrors. Our Heavy Duty Coach Folding Exterior Mirror is designed to withstand the rigors of long - distance travel and harsh weather conditions. It features a durable folding mechanism that allows the mirror to be easily adjusted or folded inwards when needed.
Our Electric Folding Rear View Mirror provides added convenience, allowing drivers to fold the mirrors with just a push of a button. This is especially useful in tight parking spaces or when passing through narrow areas.
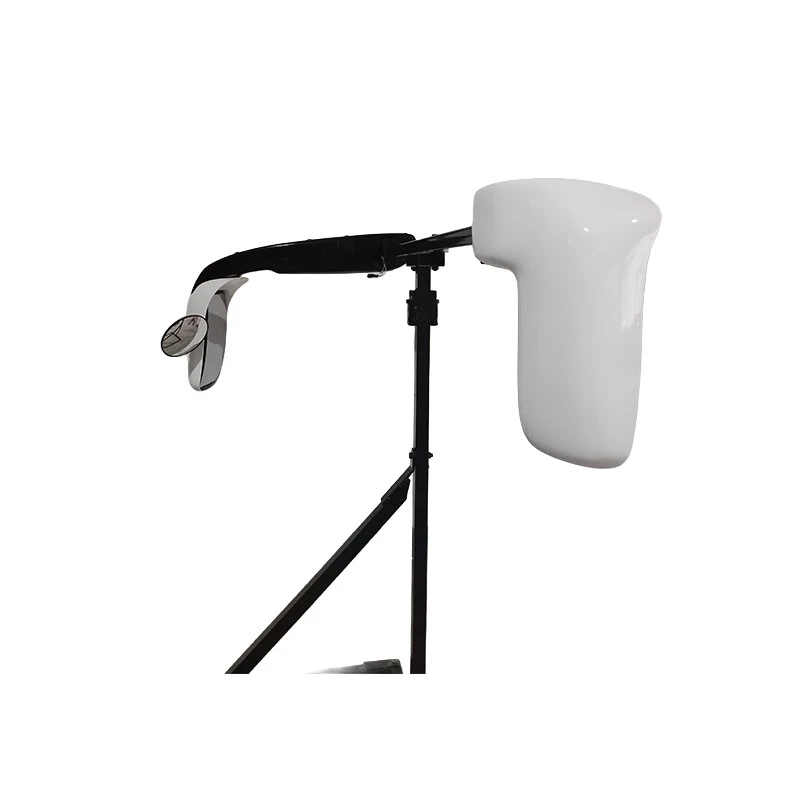
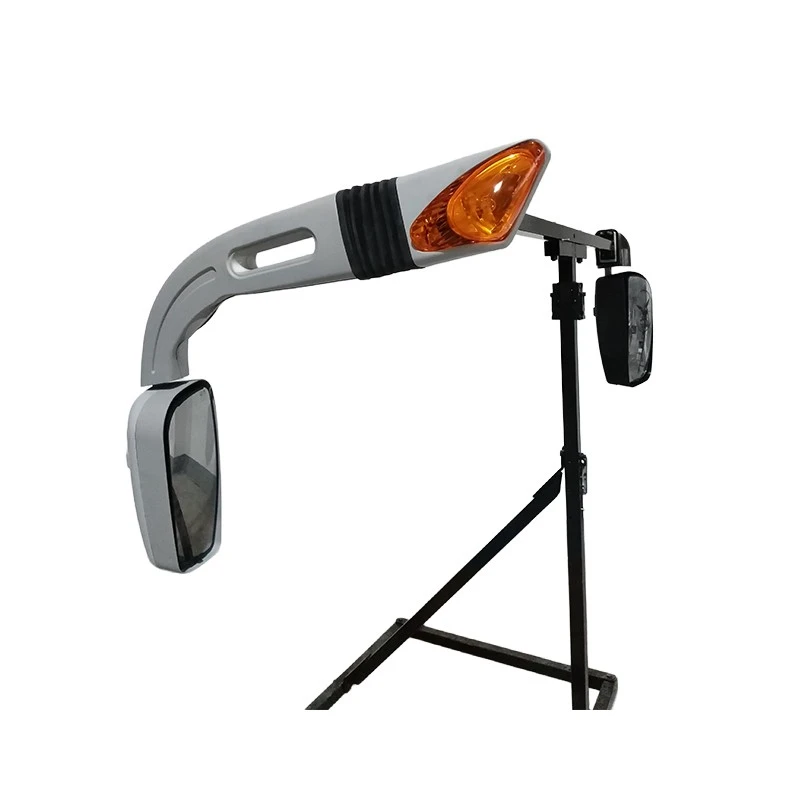
For those in need of a mirror for a bus, our Bus Folding Exterior Mirror and Large Bus Exterior Mirror are excellent choices. These mirrors are designed to provide a wide field of vision, enhancing safety on the road.
Conclusion
Replacing the exterior mirror glass on a tour coach requires a combination of the right tools and a good understanding of the process. By having the tools mentioned above and following the proper steps, you can ensure a successful replacement. If you're in the market for high - quality tour coach exterior mirrors or need more information about our products, don't hesitate to contact us for procurement discussions. We're committed to providing you with the best solutions for your tour coach's mirror needs.
References
- Automotive Mirror Repair Manuals
- Manufacturer's Instructions for Tour Coach Exterior Mirrors