

Motion sensors in exterior mirror cameras have become an essential feature in modern vehicles, providing enhanced safety and convenience. As a leading exterior mirror supplier, we understand the importance of properly configuring these motion - sensor settings to ensure optimal performance. In this blog, we'll guide you through the process of configuring the motion - sensor settings of an exterior mirror camera.
Understanding the Basics of Motion - Sensor Technology in Exterior Mirror Cameras
Before diving into the configuration process, it's crucial to understand how motion - sensor technology works in exterior mirror cameras. These sensors are designed to detect movement in the camera's field of view. When motion is detected, the camera can trigger various actions, such as recording the event, sending an alert, or adjusting the camera's view.
The main components of a motion - sensor system in an exterior mirror camera include:
- Sensor Unit: This is the hardware that detects motion. It can be based on different technologies, such as infrared (IR), microwave, or image - processing algorithms.
- Camera: The camera captures the images or videos in the monitored area.
- Control Unit: This unit processes the data from the sensor and the camera, and determines what actions to take when motion is detected.
Step 1: Prepare Your Exterior Mirror Camera
Before you start configuring the motion - sensor settings, make sure your exterior mirror camera is properly installed. Check the physical connections to ensure that the camera is securely attached to the mirror and that all cables are properly connected.
Also, ensure that the camera is powered on and functioning correctly. You can test the camera by checking the live feed on your vehicle's display or monitoring system. If there are any issues with the camera's operation, refer to the user manual or contact our technical support team.
Step 2: Access the Configuration Menu
Most exterior mirror cameras come with a configuration menu that allows you to adjust various settings, including the motion - sensor settings. To access the configuration menu, you may need to use a remote control, a dedicated button on the camera, or a software application on your vehicle's infotainment system.
The exact method of accessing the configuration menu may vary depending on the model of your exterior mirror camera. Refer to the user manual for detailed instructions on how to access the menu.
Step 3: Set the Motion - Detection Sensitivity
One of the most important settings in the motion - sensor configuration is the sensitivity level. The sensitivity determines how easily the motion sensor will detect movement. A higher sensitivity level means that the sensor will detect even small movements, while a lower sensitivity level will only detect larger, more significant movements.
If you set the sensitivity too high, the camera may trigger false alarms due to minor movements, such as leaves blowing in the wind or small animals passing by. On the other hand, if the sensitivity is set too low, the camera may miss important events.
To set the motion - detection sensitivity, navigate to the motion - sensor settings in the configuration menu. You may see a slider or a numerical value that represents the sensitivity level. Adjust the sensitivity according to your needs and the environment where the camera is installed. For example, if the camera is installed in a busy area with a lot of movement, you may want to set a lower sensitivity to avoid false alarms.
Step 4: Define the Detection Area
Another important setting is the detection area. You can define the specific area within the camera's field of view where you want the motion sensor to detect movement. This is useful if you only want to monitor a particular part of the area, such as the driveway or the entrance to your vehicle.
To define the detection area, most cameras allow you to draw a polygon or a rectangle on the live feed of the camera. You can use the touchscreen on your vehicle's display or the controls on the remote to select the area. Make sure to include all the areas that you want to monitor, but exclude any areas where you don't want the sensor to trigger, such as areas with constant movement that could cause false alarms.
Step 5: Set the Trigger Actions
Once the motion sensor detects movement, you can set the camera to perform certain actions. Common trigger actions include:
- Recording: The camera can start recording a video when motion is detected. You can set the recording duration, such as 10 seconds, 30 seconds, or 1 minute.
- Alert: The camera can send an alert to your vehicle's display or your mobile device. You can choose the type of alert, such as a sound, a vibration, or a visual notification.
- Zoom: The camera can zoom in on the area where the motion was detected to provide a closer view.
To set the trigger actions, navigate to the motion - sensor settings in the configuration menu and select the actions that you want the camera to perform. You can also customize the settings for each action, such as the recording quality or the alert sound.
Step 6: Test the Motion - Sensor Settings
After you have configured all the motion - sensor settings, it's important to test the system to ensure that it is working correctly. Walk around the area within the detection zone and see if the camera triggers the actions that you have set.
If the camera does not detect your movement or if it triggers false alarms, go back to the configuration menu and adjust the settings accordingly. You may need to fine - tune the sensitivity, the detection area, or the trigger actions until you get the desired results.
Additional Considerations
- Weather Conditions: Extreme weather conditions, such as heavy rain, snow, or fog, can affect the performance of the motion sensor. Make sure to adjust the settings accordingly or choose a camera with weather - resistant features.
- Vehicle Movement: If your vehicle is in motion, the motion sensor may need to be adjusted to avoid false alarms caused by the vehicle's movement. Some cameras have a built - in feature that can compensate for vehicle movement.
Our Exterior Mirror Products
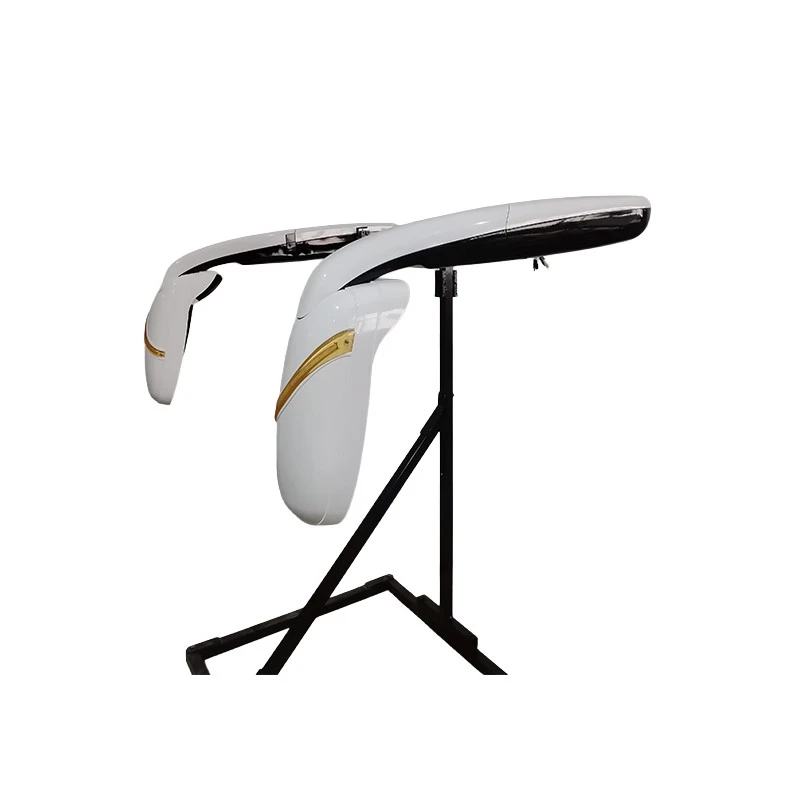
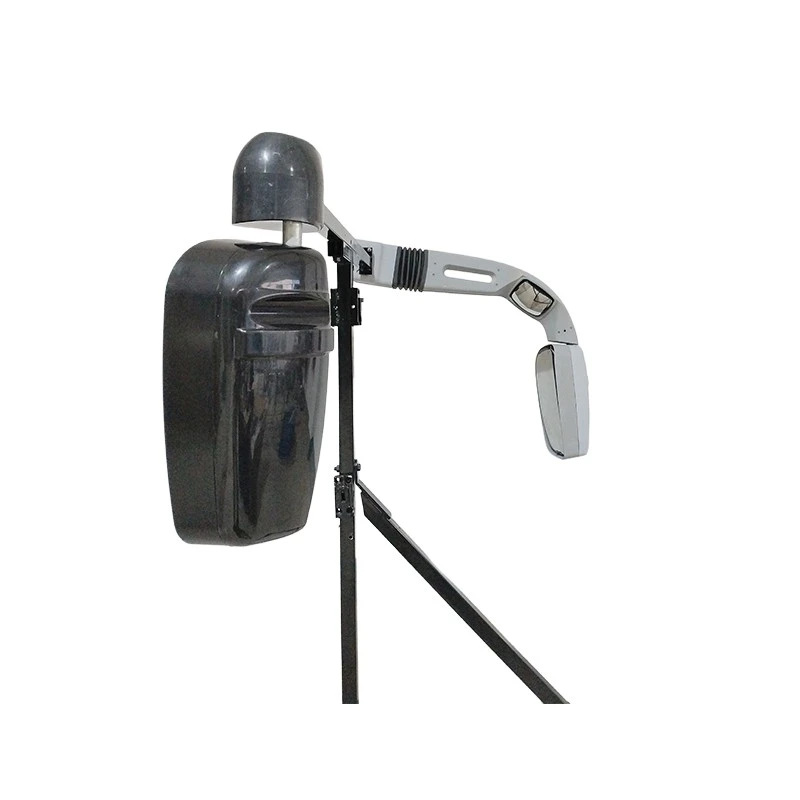
As an exterior mirror supplier, we offer a wide range of high - quality exterior mirrors with advanced motion - sensor technology. Our Electric Folding Rear View Mirror is designed for convenience and safety, allowing you to fold the mirrors with a simple press of a button. Our Large Bus Exterior Mirror is specifically designed for large buses, providing a wide field of view and reliable motion - detection capabilities. And our Bus Exterior Mirror is suitable for various types of buses, ensuring optimal performance in different environments.
Contact Us for Purchasing
If you are interested in our exterior mirror products or need more information about configuring the motion - sensor settings, please feel free to contact us. Our sales team is ready to assist you with your purchasing needs and provide you with professional advice.
References
- Camera User Manuals
- Industry Standards for Exterior Mirror Motion - Sensor Technology